


Get Phantom Horn materials for the next stage of equipment production level upgrade.
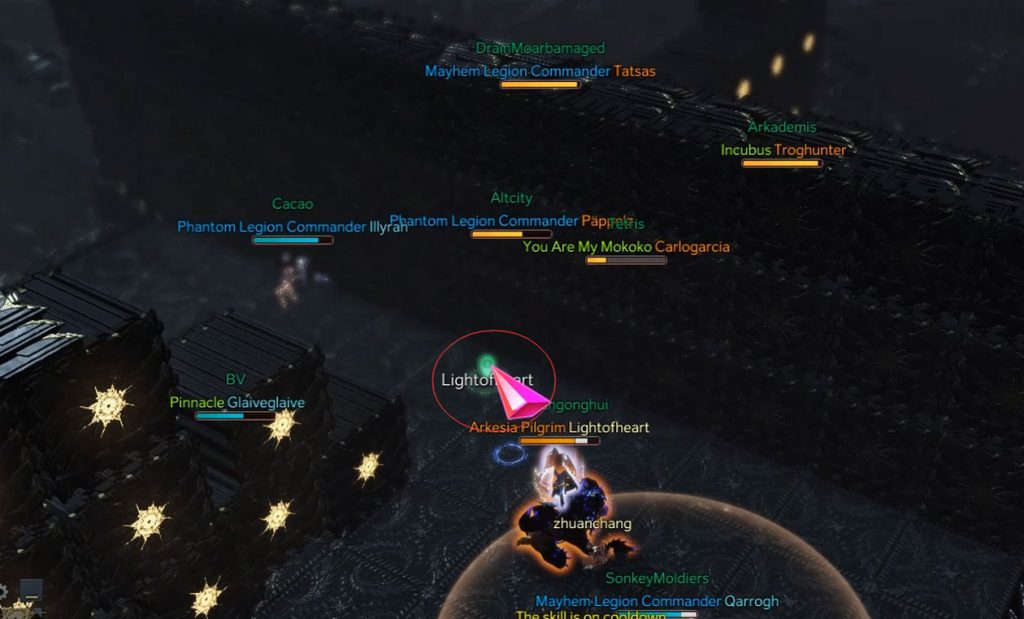
After entering the dungeon, there will be a practice mode first. Players only need to hit the BOSS casually.
Here begins to end of the contact mode, ready to officially start the G1 level
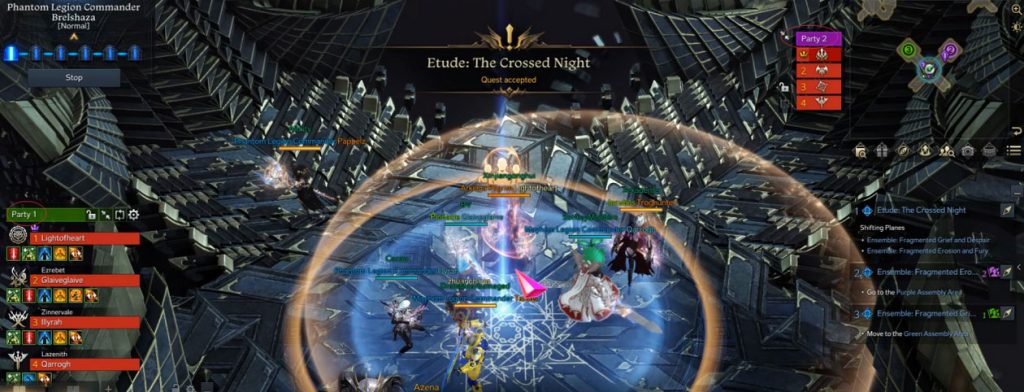
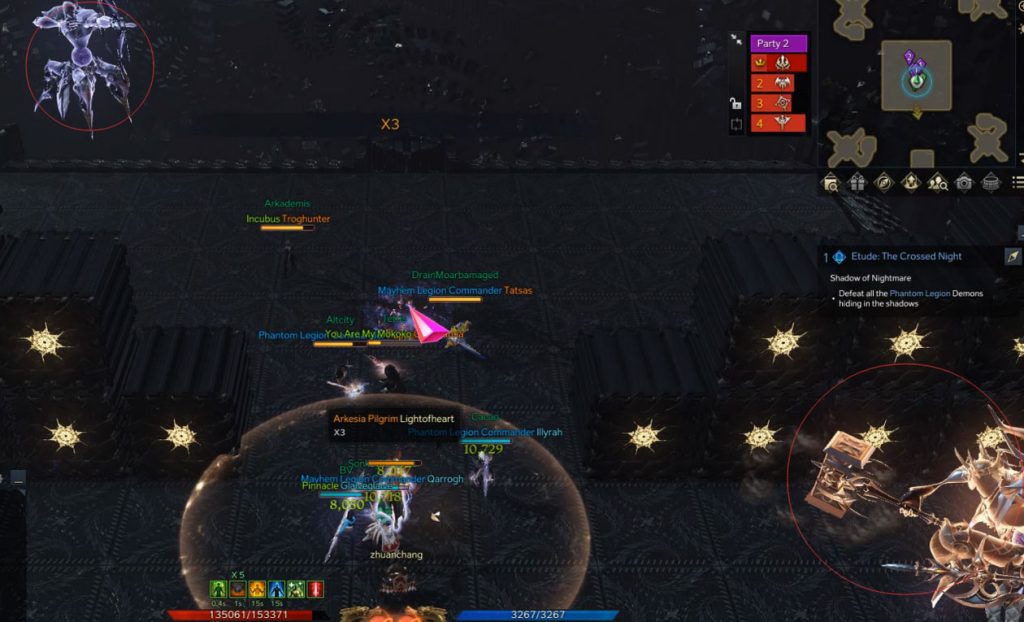
Here is the official start of the G1-level dungeon. On the left is Party 1, the green team, and on the right is Party 2, the purple team.
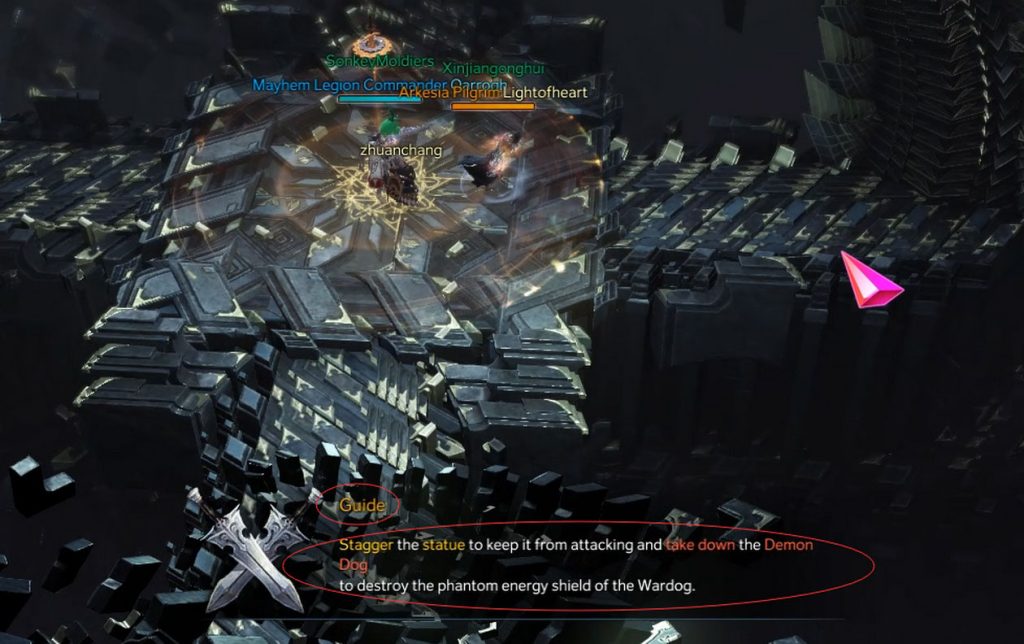
Upon entering the G1 dungeon, Party 1 and Party 2 teams will be combined and instructed by the guide on what equipment to bring and which elite monsters to engage in combat.
Once the two teams triumphantly defeat the elite monsters, everyone gathers in the middle. The team captain can then deploy the NPC skill Cillian to dismantle the boss’s armor. Once the armor has been dismantled, the boss’s vulnerability to damage is heightened.
Following both teams’ successful elimination of the boss, everyone regrouped at the midfield to commence the final stage.
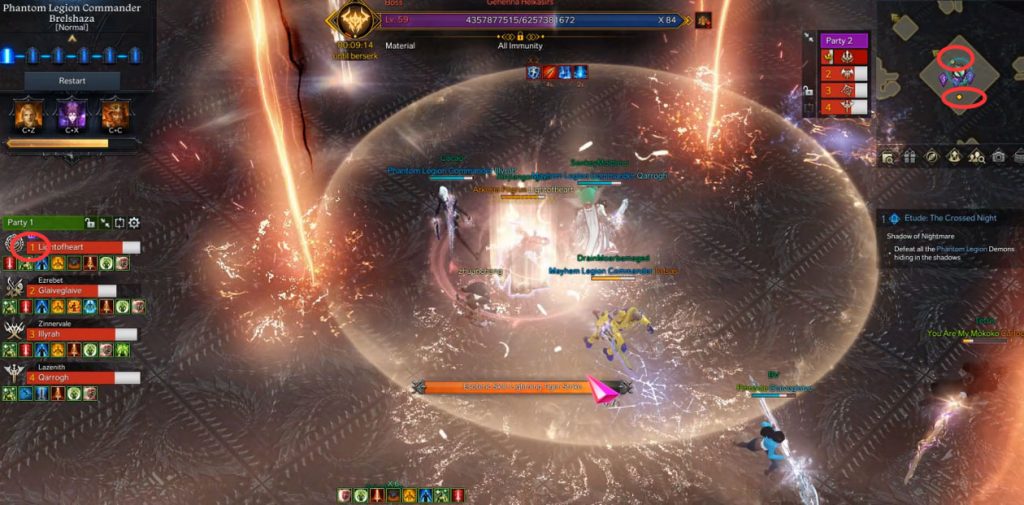
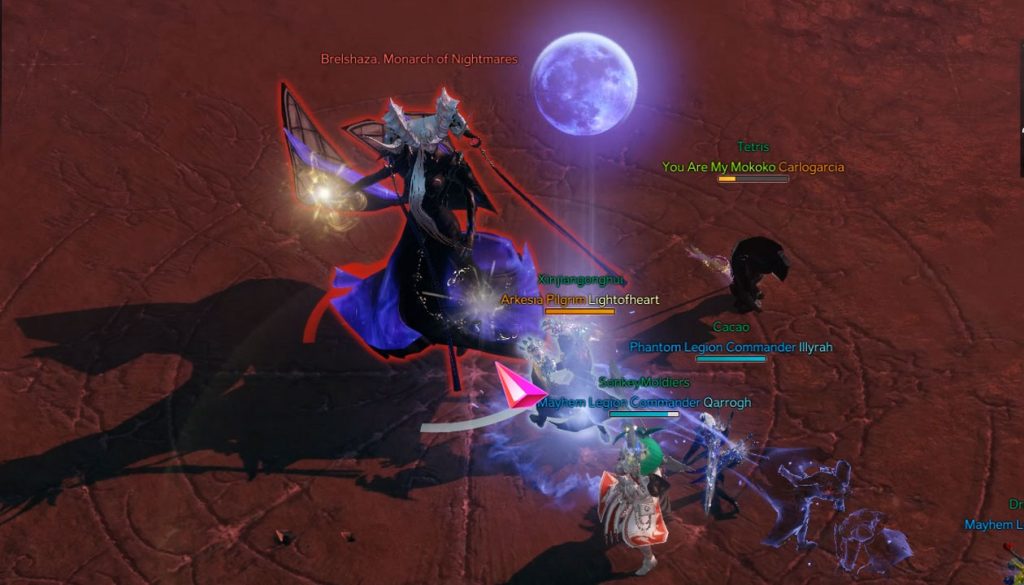
When the BOSS reaches 85 blood bars, it takes to the sky, creating two safe zones in the 12 and 6 o’clock directions. Each member of Party 1 and Party 2 will position themselves in the assigned safe zone based on the X3 number to avoid being immediately killed by the BOSS mechanism. The safe zone order is 12 o’clock → 6 o’clock, and 3 o’clock → 9 o’clock.

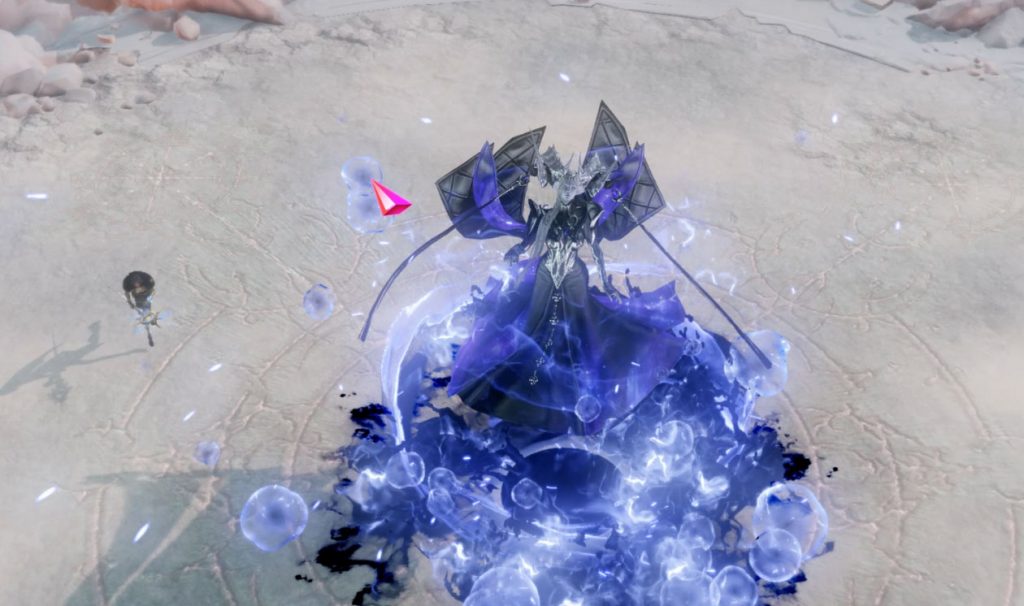
When the G1 boss is left with 42 health bars, it returns to the center of the map and initiates the final mechanism. Subsequently, little monsters will appear on the map’s 12, 6, 3, and 9 points. To eliminate these small monsters, the leader must employ the NPC skill Ansena.
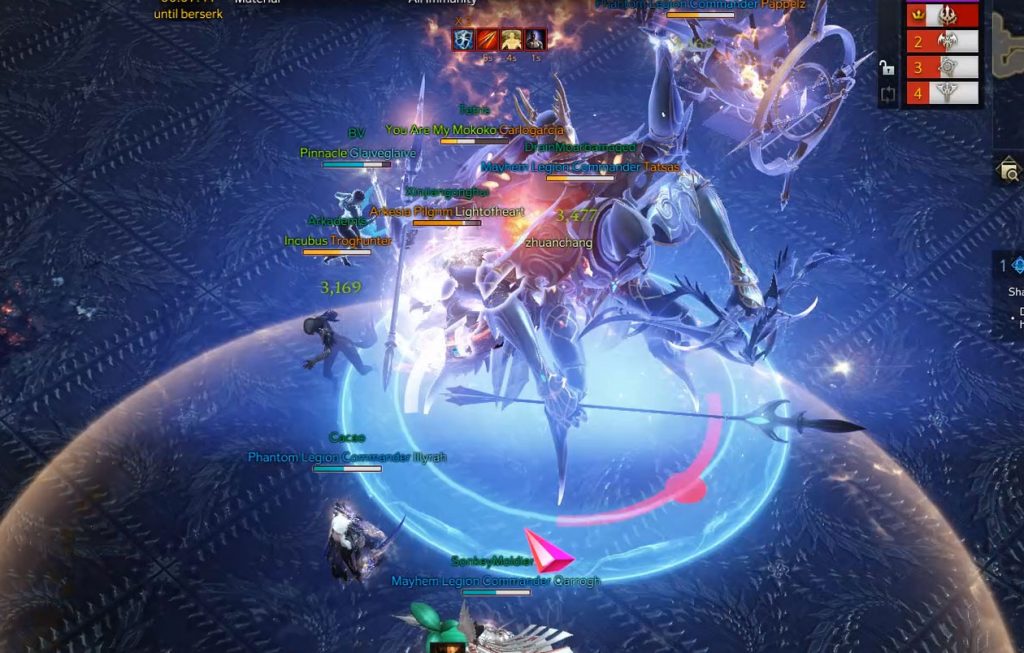
You must successfully counter the boss 6 times in a row. Otherwise, it will cause huge damage to all players. Once you complete the six-point counter, you only need to defeat the BOSS to finish the G1 dungeon and obtain the Phantom Horn material.